Least Expensive Exterior Siding Options
Least expensive exterior siding doesn’t mean sacrificing style or durability. This guide explores budget-friendly options like vinyl, aluminum, fiber cement, engineered wood, and steel siding, examining their pros, cons, and long-term costs. We’ll delve into factors influencing overall project expense, from material and labor costs to house size and regional price variations. Whether you’re a DIY enthusiast or prefer professional installation, we’ll help you make informed decisions to achieve a beautiful and cost-effective exterior.
Understanding the nuances of each siding type is crucial. Vinyl offers affordability and low maintenance, while aluminum boasts durability and weather resistance. Fiber cement provides a more upscale look at a relatively low cost, while engineered wood and steel present their own sets of advantages and disadvantages. By carefully considering these options and the factors affecting installation costs, you can choose the perfect siding to enhance your home’s curb appeal without breaking the bank.
Types of Least Expensive Exterior Siding
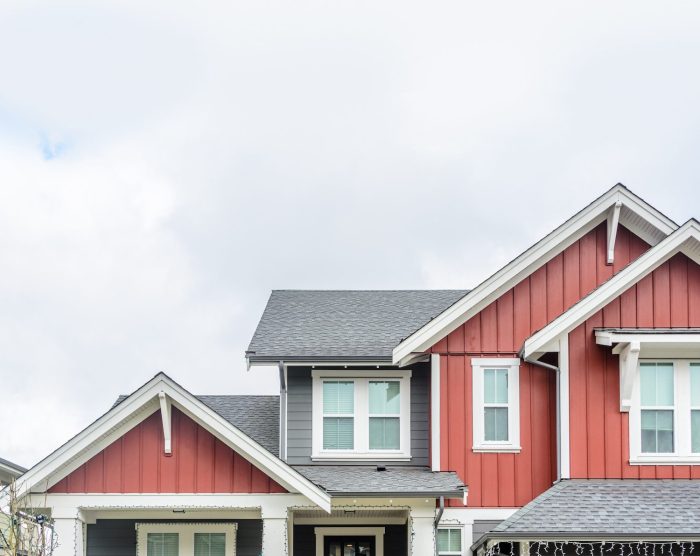
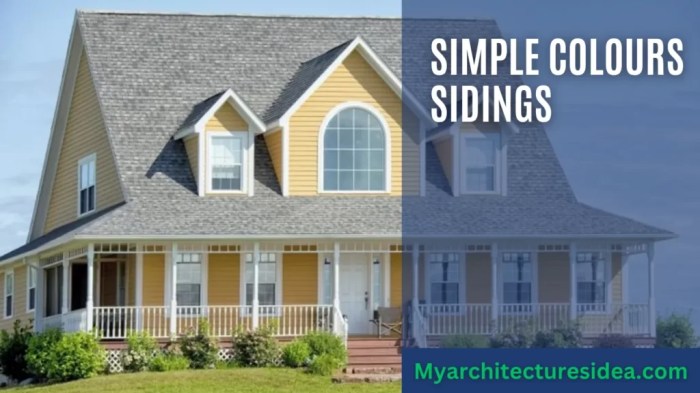
Source: medium.com
Choosing the right exterior siding can significantly impact a home’s curb appeal and long-term maintenance costs. While many high-end options exist, several budget-friendly materials offer excellent value for homeowners. This section details five common types of inexpensive exterior siding, comparing their pros, cons, and overall cost-effectiveness.
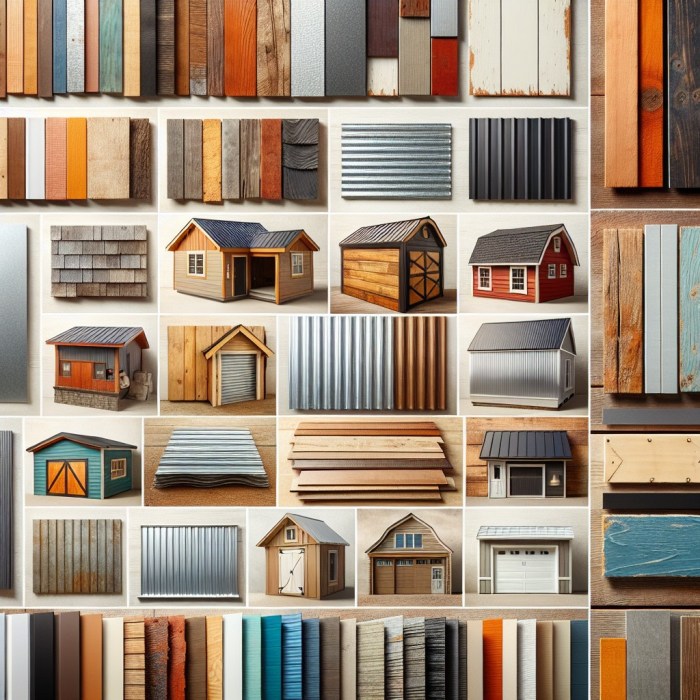
Inexpensive Exterior Siding Materials
Several materials provide a cost-effective solution for exterior siding, each with its own set of advantages and disadvantages. Understanding these differences will help you make an informed decision based on your budget and long-term needs.
Vinyl Siding
Vinyl siding is a popular choice due to its low initial cost and ease of installation. It’s available in a wide variety of colors and styles, mimicking the look of wood or other more expensive materials.
- Pros: Low initial cost, easy installation, low maintenance, long lifespan (30-50 years), water-resistant.
- Cons: Can fade or become brittle in extreme temperatures, susceptible to damage from impact, limited design options compared to some other materials, not environmentally friendly due to its plastic composition.
Aluminum Siding
Aluminum siding is another affordable option known for its durability and resistance to weather damage. It’s lightweight, making it easy to install, and requires minimal maintenance.
- Pros: Low initial cost, lightweight, durable, resistant to fire, insects, and rot, relatively low maintenance.
- Cons: Can dent easily, prone to scratches, may fade over time, can be noisy during rain or hail, may not be as aesthetically pleasing as other options.
Fiber Cement Siding (Budget-Friendly Options), Least expensive exterior siding
While fiber cement siding can be more expensive than vinyl or aluminum, certain budget-friendly options exist, particularly those with a thinner profile or simpler textures. It offers a superior combination of durability and aesthetics.
- Pros: Durable, fire-resistant, insect-resistant, rot-resistant, long lifespan (50+ years), can mimic the look of wood.
- Cons: Higher initial cost than vinyl or aluminum, heavier than vinyl or aluminum, requires more professional installation, susceptible to moisture damage if not properly installed and maintained.
Engineered Wood Siding
Engineered wood siding, often made from composite materials, offers a cost-effective alternative to natural wood siding. It’s designed to be more resistant to moisture and insect damage than solid wood.
- Pros: Relatively low cost compared to natural wood, durable, resistant to moisture and insects, various colors and styles available.
- Cons: Can be susceptible to damage from impact, may require more maintenance than vinyl or aluminum, lifespan is shorter than fiber cement or some vinyl options, may not be as aesthetically pleasing as natural wood to some homeowners.
Steel Siding
Steel siding is a surprisingly cost-effective option, especially when considering its long lifespan and low maintenance requirements. It’s incredibly durable and resistant to fire, insects, and rot.
- Pros: Extremely durable, fire-resistant, insect-resistant, rot-resistant, long lifespan (50+ years), low maintenance.
- Cons: Can dent easily, prone to scratching, may be susceptible to rust if not properly coated, can be noisy during rain or hail, higher initial cost than vinyl or aluminum.
Comparison of Siding Materials
The following table summarizes the lifespan, maintenance requirements, and initial cost of each siding type. Note that costs can vary depending on factors such as material quality, installation costs, and regional pricing.
| Siding Type | Lifespan (Years) | Maintenance Requirements | Initial Cost (Relative) |
|---|---|---|---|
| Vinyl | 30-50 | Low | Low |
| Aluminum | 40-60 | Low | Low |
| Fiber Cement (Budget Options) | 50+ | Moderate | Medium |
| Engineered Wood | 20-30 | Moderate | Medium |
| Steel | 50+ | Low | Medium-High |
Factors Affecting the Cost of Exterior Siding
The overall cost of exterior siding installation is influenced by a complex interplay of factors. Understanding these factors can help homeowners make informed decisions and budget effectively for their projects. While the type of siding plays a significant role (as discussed previously), other elements contribute substantially to the final price.
Several key elements determine the final cost of your siding project. These include the cost of materials, labor, the size and complexity of your home, and regional variations in pricing. Even seemingly minor details can accumulate, impacting your budget considerably.
Material Costs
Material costs vary significantly depending on the type of siding chosen. For example, vinyl siding is generally less expensive than fiber cement or wood siding. The quality of the materials also impacts cost; higher-grade materials often come with a higher price tag but may offer superior durability and longevity. Furthermore, the quantity of materials needed directly correlates to the size of the house. A larger house will naturally require more siding, increasing the overall material expense. Consider also the need for additional materials like flashing, trim, and fasteners, which contribute to the total cost.
Labor Costs
Labor costs constitute a significant portion of the total siding installation expense. The complexity of the project significantly impacts labor costs. A simple, rectangular house will require less labor than a house with intricate architectural details, multiple gables, or dormers. The experience and reputation of the contractor also play a role; experienced and reputable contractors often charge more, reflecting their expertise and the higher quality of their work. Location can also influence labor costs, as some areas have higher labor rates than others.
Regional Variations
Regional differences significantly affect the cost of siding installation. Factors such as the cost of living, the availability of skilled labor, and local building codes can all impact pricing. For example, areas with high demand for construction services might have higher labor costs compared to areas with a more abundant supply of contractors. Similarly, the cost of materials can fluctuate depending on transportation costs and local supply chains. Homeowners in areas prone to severe weather might need more robust siding materials, further impacting the total cost.
House Size and Complexity
The size and complexity of a house directly influence the amount of material and labor required for siding installation. Larger houses naturally need more siding materials, increasing material costs. Complex architectural features, such as dormers, bay windows, and multiple gables, add to the labor involved, extending installation time and increasing labor costs. Homes with unusual shapes or significant elevation changes also demand more time and skill from the installation crew, leading to higher overall costs.
Reducing Siding Costs
Homeowners can employ several strategies to reduce the overall cost of their siding projects.
- Shop around for contractors and materials: Obtaining multiple quotes from different contractors and comparing prices from various suppliers can help identify cost-effective options.
- Consider less expensive siding options: While prioritizing quality is important, opting for less expensive siding materials, such as vinyl, can significantly reduce the project’s cost.
- DIY where possible: For homeowners with some construction experience, undertaking some aspects of the project themselves, such as preparing the walls or cleaning up, can reduce labor costs.
DIY vs. Professional Installation

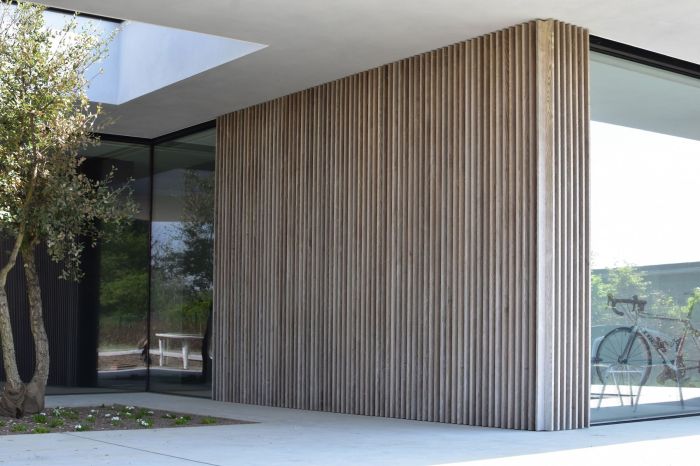
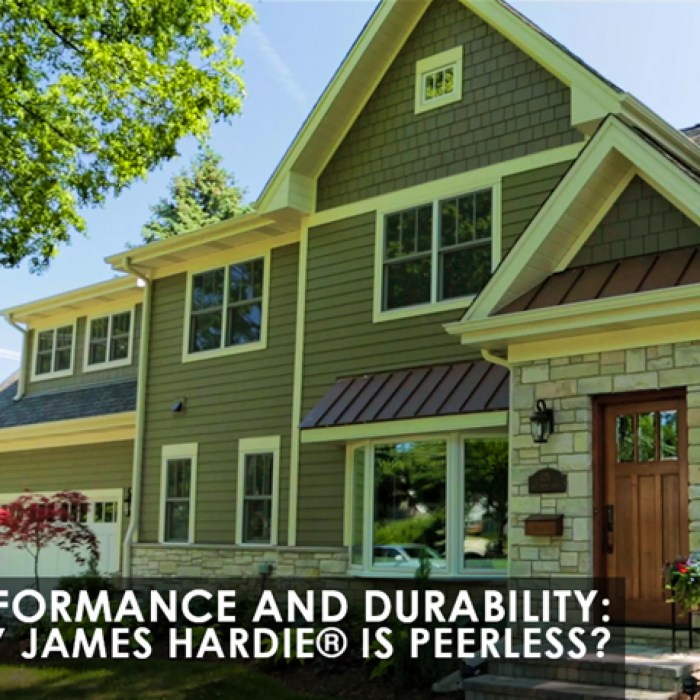
Source: dreamworxexteriors.com
Choosing between DIY and professional installation for your new exterior siding significantly impacts both the final cost and the overall project outcome. While DIY offers potential cost savings, it also involves a greater time commitment, a higher risk of mistakes, and the possibility of needing costly repairs. Professional installation, while more expensive upfront, often results in a higher-quality finish, a faster completion time, and a warranty that protects against workmanship errors.
This section compares the costs and considerations of each approach, providing a step-by-step guide for DIY preparation and a visual representation of the cost differences.
DIY Siding Installation Costs
DIY installation primarily involves material costs and the value of your time. Material costs vary depending on the type and amount of siding needed, as well as any additional materials like underlayment, fasteners, and trim. Let’s assume a 1500 square foot house requiring approximately 1600 square feet of siding (to account for waste and cuts). Budget-friendly vinyl siding can range from $1 to $3 per square foot. This means material costs could fall between $1600 and $4800. However, you must also factor in the cost of tools, which might include a circular saw, measuring tape, level, hammer, and possibly a nail gun (rental costs should be included in the budget). The time commitment is substantial; a DIY project of this size could easily take several weekends or even a couple of weeks, depending on experience and weather conditions. Mistakes are common for first-time installers, leading to potential repair costs and added material expenses. These repairs might require purchasing additional siding, potentially increasing overall costs.
Professional Siding Installation Costs
Professional installation includes both material and labor costs. While you’ll still need to purchase the siding materials, the labor cost can significantly add to the overall expense. Contractors typically charge by the square foot, with prices ranging from $3 to $8 per square foot, depending on location, experience, and the complexity of the job. For our example 1600 square foot project, labor costs could range from $4800 to $12,800. However, professionals possess the expertise to minimize waste and ensure proper installation, often resulting in long-term cost savings by preventing future repairs. Furthermore, many contractors offer warranties on their workmanship, providing added peace of mind. The time commitment is significantly reduced; a professional crew can typically complete the project in a matter of days, depending on weather conditions and crew size.
Preparing a Wall for Inexpensive Siding Installation (DIY)
Before starting, ensure you have all necessary safety equipment (safety glasses, gloves, etc.). This step-by-step guide Artikels the crucial preparatory steps:
1. Wall Inspection and Preparation: Thoroughly inspect the existing wall for any damage, such as rotting wood, loose boards, or insect infestation. Repair any damage before installing new siding. This might involve replacing damaged sections of wood or treating for insects.
2. Surface Cleaning: Clean the wall surface thoroughly using a pressure washer or a stiff brush to remove dirt, loose paint, and debris. Allow the wall to dry completely before proceeding.
3. Installation of Underlayment (if needed): Depending on the type of siding, underlayment may be required to provide additional protection against moisture and improve insulation. Follow the manufacturer’s instructions for proper installation.
4. Framing and Furring Strips (if necessary): If the wall surface is uneven, install furring strips to create a level surface for the siding. This step is crucial for achieving a professional-looking finish.
5. Marking and Measuring: Carefully measure and mark the wall to determine the placement of the siding panels. Accurate measurements are essential for minimizing waste and ensuring a proper fit.
Cost Comparison Infographic
The infographic would depict two bars representing the total project cost for DIY and professional installation. The DIY bar would be shorter, representing the lower upfront cost, but would have a smaller, upward-pointing arrow indicating potential additional costs due to mistakes and repairs. The professional installation bar would be taller, representing the higher upfront cost, but would be capped with a checkmark or a happy face to indicate a smoother process and a likely reduction in future repair costs. The numerical values representing the cost ranges for each approach (as calculated in the previous sections) would be clearly displayed on each bar. A legend would clearly distinguish between material costs, labor costs, and potential repair costs. The infographic’s title would be “DIY vs. Professional Siding Installation: A Cost Comparison.”
Maintaining Inexpensive Exterior Siding: Least Expensive Exterior Siding

Source: prosuperiorconstruction.com
Proper maintenance is crucial for extending the lifespan of any exterior siding, especially budget-friendly options. Neglecting maintenance can lead to premature deterioration, costly repairs, and ultimately, premature replacement. This section details a maintenance schedule and addresses common problems to help keep your inexpensive siding looking its best for years to come.
Maintenance Schedules for Different Siding Types
Different siding materials require slightly different maintenance approaches. Regular cleaning is essential for all types, preventing dirt buildup and the growth of mold and mildew. However, the cleaning methods and frequency may vary.
- Vinyl Siding: Vinyl siding is relatively low-maintenance. Regularly wash it with a garden hose and a soft-bristled brush, using a mild detergent solution for stubborn stains. Avoid harsh chemicals or abrasive cleaners that can scratch the surface. Inspect for cracks or damage annually and repair promptly.
- Aluminum Siding: Aluminum siding is also durable and easy to maintain. Clean it similarly to vinyl siding, using a garden hose and a soft brush. Pay attention to seams and edges where dirt can accumulate. Aluminum siding is resistant to rot and insects, but check for dents or damage and repair as needed.
- Fiber Cement Siding: Fiber cement siding is more durable than vinyl or aluminum but requires more careful cleaning. Use a pressure washer sparingly and at a low setting to avoid damaging the surface. Regularly inspect for cracks or damage, particularly around fasteners. A sealant may be needed to address minor cracks.
- Wood Siding (treated): Even treated wood siding requires regular maintenance. Clean it with a garden hose and a soft brush, using a mild detergent if necessary. Inspect for signs of rot, insect damage, and peeling paint. Repaint or re-stain as needed, typically every 3-5 years depending on climate and exposure.
Common Problems and Solutions
Inexpensive siding materials are susceptible to certain problems. Early detection and prompt action are key to preventing extensive damage.
- Cracks and Holes: Small cracks in vinyl or aluminum siding can be patched with caulk or specialized repair kits. Larger holes may require replacement sections. For fiber cement or wood siding, repairs might involve patching compound or replacement boards.
- Mold and Mildew: Regular cleaning with a solution of bleach and water (follow product instructions carefully) can prevent and remove mold and mildew. For persistent problems, consider using a commercial mildew remover.
- Peeling Paint (Wood Siding): Peeling paint on wood siding is a sign of deterioration. Scrape off loose paint, prime the bare wood, and repaint to protect the siding from moisture damage.
- Insect Infestation (Wood Siding): Inspect wood siding regularly for signs of insect damage, such as holes or sawdust. If infestation is detected, contact a pest control professional for treatment.
- Loose or Damaged Fasteners: Over time, fasteners can loosen, leading to siding damage. Tighten loose screws or nails. Replace damaged fasteners as needed.
Simple Maintenance Tips to Extend Siding Life
Following these simple tips can significantly extend the life of your inexpensive exterior siding.
- Regular Cleaning: Clean your siding at least twice a year, in spring and fall, to remove dirt, debris, and mold.
- Prompt Repairs: Address any cracks, holes, or damage as soon as you notice them to prevent further deterioration.
- Proper Drainage: Ensure that water drains away from your house properly to prevent moisture buildup against the siding.
- Trim Overhanging Branches: Keep tree branches trimmed back from the siding to prevent damage and moisture accumulation.
- Annual Inspection: Conduct a thorough inspection of your siding at least once a year to identify and address any potential problems early.
Choosing the Right Siding for Your Home

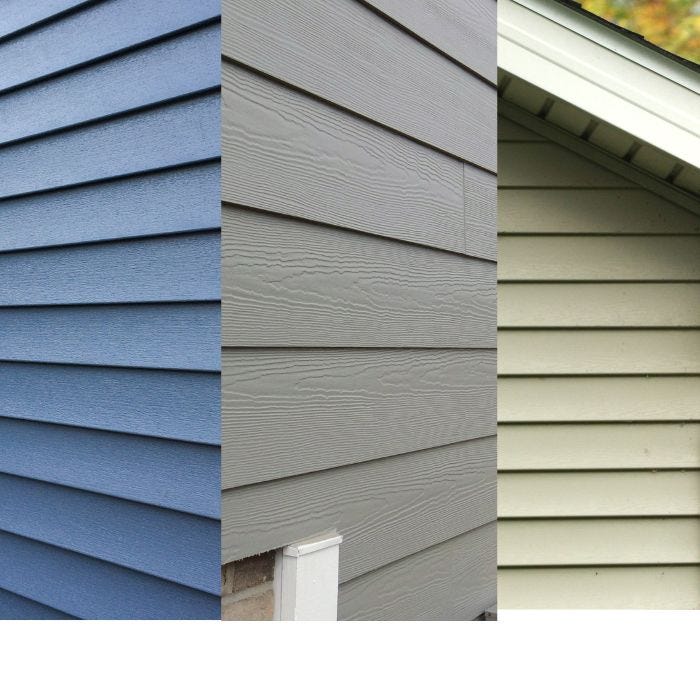
Source: cloudfront.net
Selecting the right exterior siding is crucial for both the aesthetic appeal and the longevity of your home. This decision involves considering your home’s architectural style, your budget, and the climate you live in. Choosing wisely ensures a beautiful and durable exterior that enhances your property’s value.
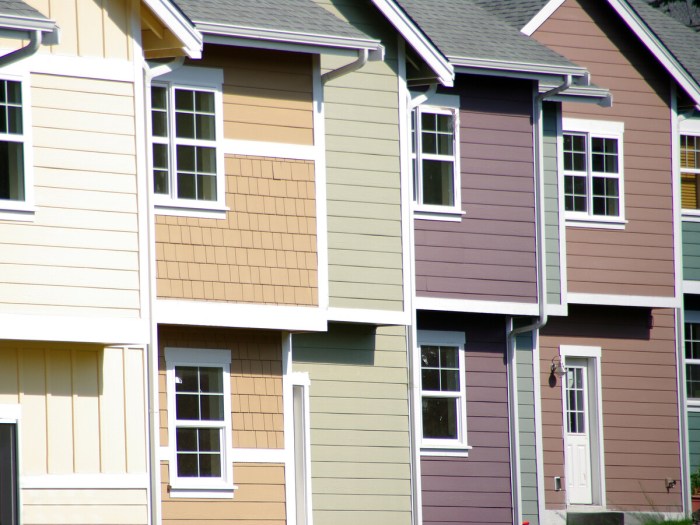
Examples of Inexpensive Siding on Different Home Styles
Inexpensive siding can be surprisingly effective when chosen appropriately. Consider these examples: A charming Cape Cod style home, traditionally featuring clapboard siding, can achieve a rustic look with vinyl siding mimicking the texture of wood clapboard, painted a classic white or soft gray. The simplicity of the design allows the siding to be the primary focal point without overwhelming the home’s character. Similarly, a Ranch style home, often characterized by its low-pitched roof and long, horizontal lines, can be effectively clad in smooth, horizontal vinyl or fiber cement siding in a warm earth tone, such as beige or taupe. This reinforces the horizontal emphasis of the architecture and creates a sense of calm and spaciousness. A small bungalow, known for its cozy and informal design, might use a textured vinyl siding that imitates stone or brick, offering a more substantial visual weight to balance the compact structure. The varied texture adds visual interest without being overly fussy.
Mock-Ups of Inexpensive Siding on a Suburban Home
To illustrate further, let’s consider a typical two-story suburban home.
Mock-up 1: Vinyl Siding with a Wood-Grain Texture
This mock-up features vinyl siding that imitates the look and feel of natural wood. The color scheme is a warm, medium brown, creating a classic and inviting appearance. The texture adds depth and visual interest, making the siding appear more substantial than plain vinyl. The deep brown contrasts well with lighter colored trim and windows, creating a balanced and visually appealing facade. The subtle wood grain prevents the house from appearing overly plain.
Mock-up 2: Fiber Cement Siding in a Light Gray
This option utilizes fiber cement siding in a light gray hue. The smooth surface provides a modern and clean aesthetic. This choice is particularly suitable for homes with a more contemporary design. The light gray color reflects sunlight, helping to keep the home cooler in warmer climates. The clean lines and unblemished surface provide a sophisticated and contemporary look.
Mock-up 3: Painted Aluminum Siding in a Deep Teal
This mock-up showcases aluminum siding painted a deep teal. This bold color choice creates a striking contrast against lighter colored trim and creates a modern and stylish appearance. The sleek, smooth finish of the aluminum siding is modern and low-maintenance. The rich teal adds a pop of unexpected color that’s both bold and sophisticated, particularly well-suited for homes with a slightly more modern or eclectic architectural style.
Decision-Making Flowchart for Choosing Inexpensive Siding
Before making a final decision, consider the following factors:
First, determine your budget. This will immediately narrow down your options. Next, consider the climate in your region. A material resistant to moisture is crucial in areas with high humidity or frequent rainfall. Then, assess your home’s architectural style. The siding should complement, not clash, with the existing design. Finally, consider your personal aesthetic preferences. Do you prefer a rustic, modern, or traditional look? The flowchart below helps navigate these decisions:
[Visual representation of a flowchart would go here. This would involve a series of decision points based on budget, climate, architectural style, and aesthetic preference, leading to a final recommendation of siding type. Due to the limitations of this text-based format, a detailed textual description is provided instead.]
Flowchart Description: The flowchart begins with the question “What is your budget?”. This branches into “Low Budget”, “Medium Budget”, and “High Budget”. Each branch then leads to a second question: “What is your climate?”. This branches into “Humid/Rainy”, “Moderate”, and “Dry”. Each of these branches then leads to a third question: “What is your home’s architectural style?”. This branches into “Traditional”, “Modern”, and “Rustic”. Finally, each of these branches leads to a recommended siding type based on the previous choices, for example: Low Budget + Humid/Rainy + Traditional might recommend vinyl siding, while High Budget + Moderate + Modern might recommend fiber cement. The final result would be a specific siding recommendation based on the answers to each question.
Concluding Remarks
Transforming your home’s exterior with budget-friendly siding is achievable with careful planning and informed choices. By weighing the pros and cons of different materials, understanding the cost factors involved, and deciding between DIY or professional installation, you can achieve a stunning result that fits your budget. Remember that regular maintenance is key to extending the lifespan of your siding, regardless of the material chosen. With this guide as your resource, you’re well-equipped to embark on your siding project with confidence and create a beautiful, lasting impression.
Detailed FAQs
Can I use inexpensive siding on all types of houses?
Yes, but the suitability depends on the house’s style and climate. Some materials may be better suited to certain architectural styles than others.
How long does inexpensive siding typically last?
Lifespan varies greatly depending on the material and maintenance. Vinyl can last 20-30 years, while aluminum and steel can last even longer with proper care. Fiber cement and engineered wood have moderate lifespans.
What are some hidden costs I should consider?
Permitting fees, waste disposal, and potential repairs due to unforeseen issues (like rot or insect damage) can add to the overall cost.
Are there any environmental concerns with inexpensive siding?
Some materials have higher environmental impacts than others. Consider the recyclability and manufacturing processes of each option before making a decision.
Where can I find reputable contractors for siding installation?
Check online reviews, get multiple quotes, and verify licensing and insurance before hiring a contractor. Consider asking for references from past clients.