Best Siding for Wet Climates A Comprehensive Guide
Best siding for wet climates? Choosing the right exterior cladding in a rainy or humid region is crucial for protecting your home’s structure and maintaining its value. This guide delves into the diverse world of siding materials, exploring their strengths and weaknesses when faced with persistent moisture. We’ll examine factors like rainfall, humidity, and temperature fluctuations, and how they impact siding lifespan. From installation techniques to maintenance strategies, we’ll equip you with the knowledge to make an informed decision and ensure your home remains safe and beautiful for years to come.
Understanding the specific challenges posed by wet climates is paramount. Different siding materials react differently to prolonged exposure to moisture, leading to varying levels of durability, maintenance needs, and overall cost-effectiveness. This guide will help you navigate these complexities, comparing various options to determine the best fit for your home and budget.
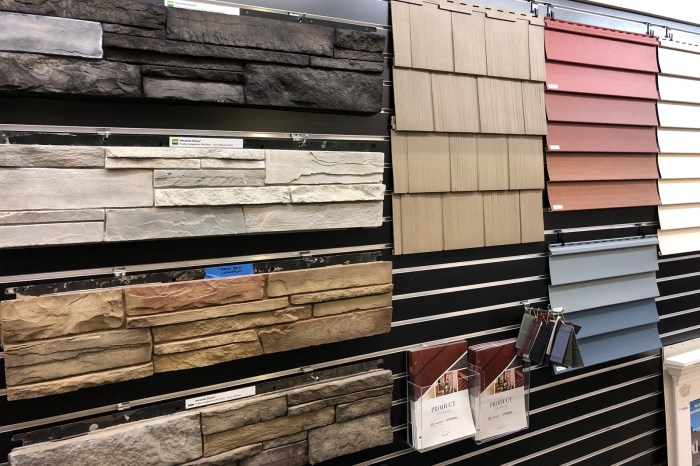
Types of Siding Suitable for Wet Climates

Source: co.uk
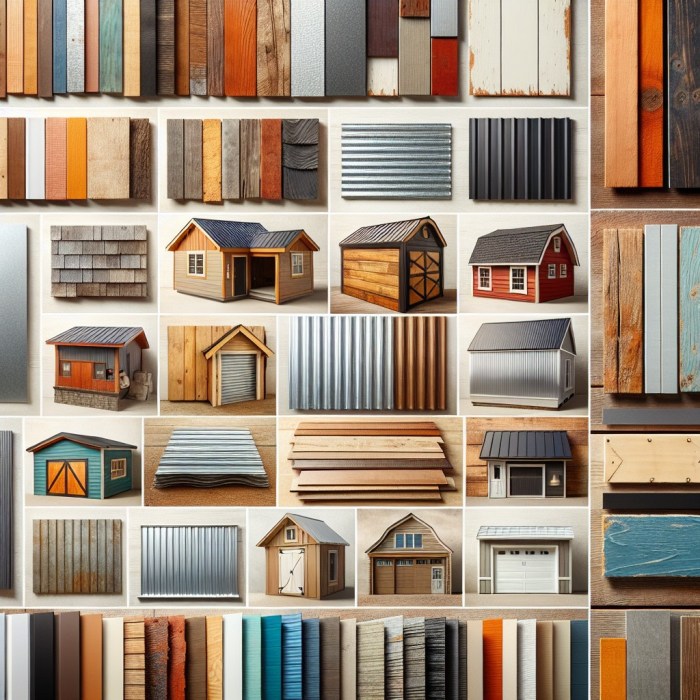
Choosing the right siding for a wet climate is crucial for protecting your home from water damage and ensuring its longevity. The material you select must be resistant to moisture, mold, and mildew, while also withstanding the potential for extreme weather conditions. Several options offer excellent performance in these challenging environments.
Siding Materials for Wet Climates
Selecting the appropriate siding material is paramount in regions with high humidity and rainfall. The following table compares five common choices, considering their properties, advantages, and disadvantages. Cost ranges are approximate and can vary based on location, material quality, and labor costs.
| Material | Pros | Cons | Typical Cost Range (per sq ft) |
|---|---|---|---|
| Fiber Cement | Durable, fire-resistant, low maintenance, pest-resistant, paintable | Can be brittle, more expensive than vinyl, requires professional installation | $4-$8 |
| Vinyl | Affordable, low maintenance, variety of colors and styles, easy installation | Can fade or crack in extreme sun, less durable than fiber cement or wood, not environmentally friendly | $2-$5 |
| Engineered Wood | Durable, attractive appearance, good insulator | Requires regular maintenance, susceptible to moisture damage if not properly sealed and maintained, more expensive than vinyl | $3-$7 |
| Aluminum | Lightweight, durable, low maintenance, resists rust and rot | Can dent easily, prone to scratches, may require repainting, conducts heat and cold | $4-$9 |
| Steel | Extremely durable, fire-resistant, low maintenance, resists pests and rot | Can dent easily, prone to scratches, susceptible to rust without proper coating, conducts heat and cold | $5-$10 |
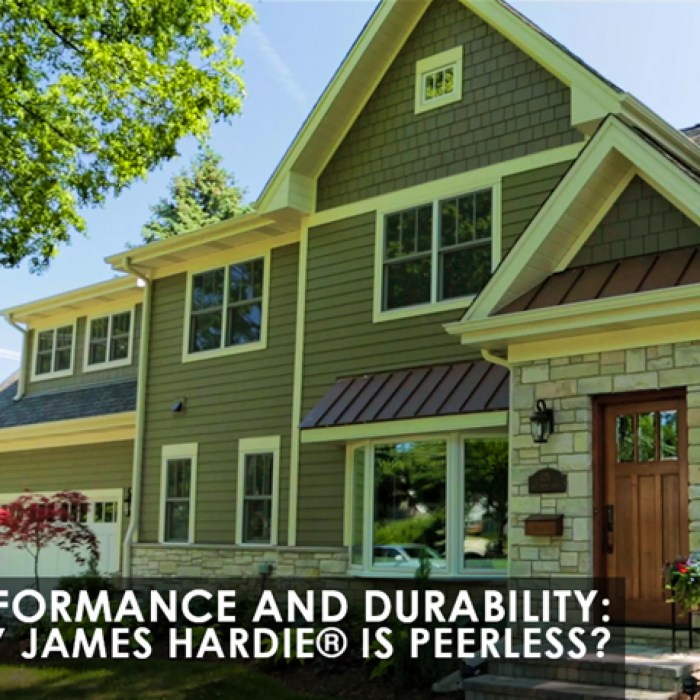
Fiber Cement Siding in High-Humidity Environments
Fiber cement siding, a composite material of cement, sand, and cellulose fibers, offers excellent resistance to moisture and rot in high-humidity environments. Its non-combustible nature adds a layer of fire protection. However, prolonged exposure to extreme moisture can lead to cracking or deterioration if not properly installed and sealed. Regular cleaning to remove mildew and algae is recommended to maintain its appearance and prevent damage. Proper caulking around windows and doors is also crucial to prevent water penetration.
Vinyl Siding vs. Engineered Wood Siding Durability
Vinyl siding, while affordable and low-maintenance, is less durable than engineered wood siding when exposed to prolonged moisture. While vinyl is resistant to rot and insect infestation, it can become brittle and crack under extreme temperature fluctuations or prolonged exposure to direct sunlight, particularly in humid climates. Engineered wood siding, on the other hand, is more resilient but requires regular sealing and maintenance to prevent water absorption and subsequent rot. Its performance depends heavily on the quality of the wood and the effectiveness of the protective coatings. For instance, a poorly sealed engineered wood siding in a persistently rainy region could suffer from significant water damage within a few years, while a well-maintained one could last for decades.
Siding Maintenance Requirements
Regular maintenance is essential for extending the lifespan of any siding material, especially in wet climates. This includes:
* Cleaning: Annual cleaning with a pressure washer (low pressure setting) or a garden hose can remove dirt, mildew, and algae. For fiber cement and engineered wood, avoid harsh chemicals that can damage the surface.
* Repair: Promptly repair any cracks, dents, or damaged sections to prevent further water penetration. For vinyl siding, replacement panels are often readily available. Engineered wood and fiber cement repairs might require more specialized skills and materials.
* Caulking: Regularly inspect and re-caulk around windows, doors, and other areas where siding meets other building materials to maintain a watertight seal.
Impact of Climate Factors on Siding Performance
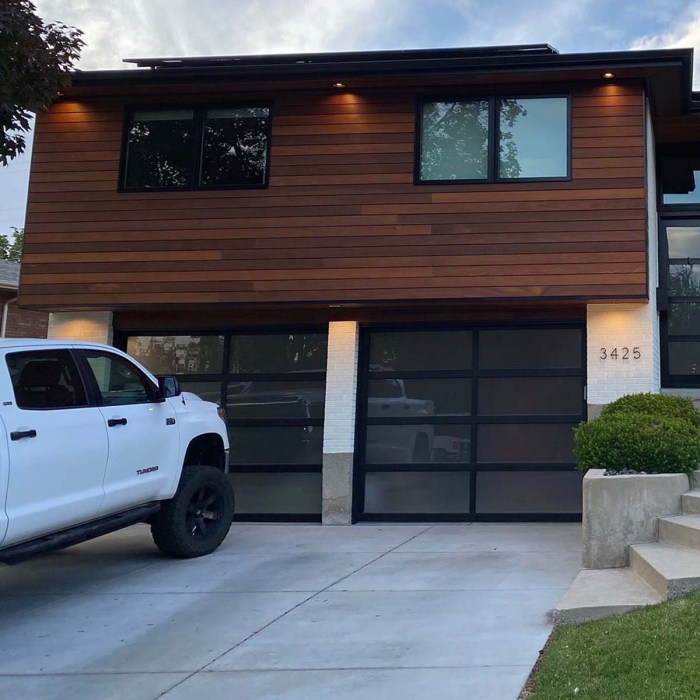
Source: novausawood.com
Understanding how climate affects siding is crucial for choosing the right material and ensuring a long-lasting, attractive exterior. Wet climates, characterized by high rainfall, humidity, and fluctuating temperatures, present unique challenges to siding materials. The combination of these factors can significantly impact the lifespan and performance of your home’s exterior.
Rainfall, humidity, and temperature fluctuations all contribute to the degradation of siding materials over time. Prolonged exposure to moisture leads to water absorption, which can cause swelling, warping, cracking, and ultimately, structural failure. High humidity provides an ideal environment for mold and mildew growth, further compromising the siding’s integrity and aesthetic appeal. Temperature swings cause expansion and contraction of the material, accelerating the wear and tear process and potentially leading to cracking or separation of siding components. The severity of these effects varies depending on the material’s properties and the intensity of the climate.
Water Damage and Mold Growth as Key Contributors to Siding Failure
Water damage is the primary cause of siding failure in wet climates. Water penetrates siding through cracks, gaps, or damaged areas, leading to rot, decay, and the weakening of the structural integrity. This damage is exacerbated by the presence of mold and mildew, which thrive in damp, shaded areas. Mold not only detracts from the visual appeal but also contributes to the deterioration of the siding material, potentially causing health problems for occupants. Proper installation, regular maintenance, and the selection of water-resistant materials are essential to mitigate these risks.
Comparison of Siding Materials’ Resistance to Environmental Factors
The following table compares the resistance of common siding materials to water absorption, rot, and insect infestation. These properties are critical for selecting appropriate siding in wet climates. Ratings are relative and can vary based on specific product formulations and installation techniques.
| Siding Material | Water Absorption | Rot Resistance | Insect Infestation Resistance |
|---|---|---|---|
| Fiber Cement | Low | High | High |
| Vinyl | Very Low | High | High |
| Aluminum | Very Low | High | High |
| Wood (Cedar, Redwood) | Moderate | Moderate (with treatment) | Moderate (with treatment) |
| Engineered Wood | Low to Moderate | Moderate to High | Moderate to High |
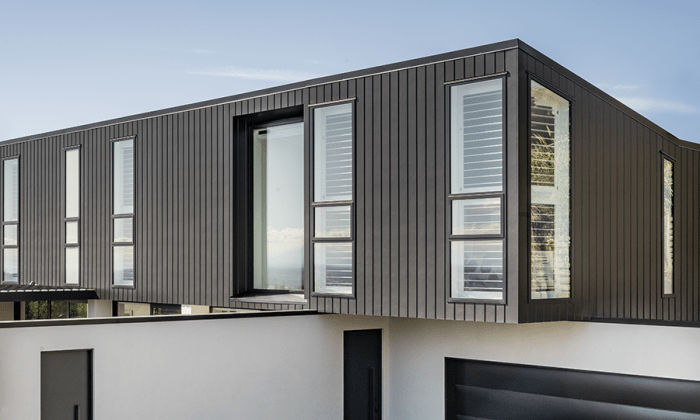
Examples of Successful Siding Installations in Wet Climates
Many successful siding installations in wet climates utilize techniques that prioritize water management. For example, a properly installed fiber cement siding system on a coastal home in the Pacific Northwest might incorporate a rain screen, a ventilated space behind the siding that allows for air circulation and moisture drainage. This prevents moisture buildup and reduces the risk of rot. The use of high-quality flashing and caulking around windows and doors is also crucial to prevent water penetration. Another example could be a vinyl siding installation where overlapping courses are meticulously installed to prevent water from seeping behind the panels. Proper sealing around all joints is also critical for vinyl siding, as it can expand and contract with temperature changes. In both cases, careful attention to detail during installation is key to ensuring longevity and performance in a harsh climate.
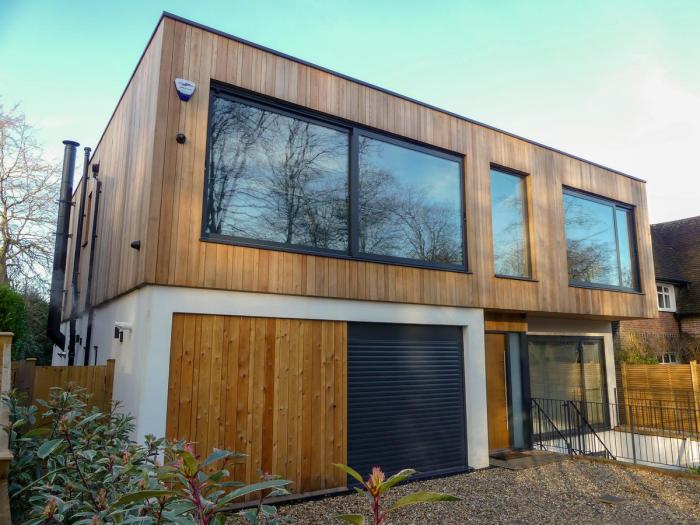
Installation Techniques for Wet Climates: Best Siding For Wet Climates

Source: cladcan.ca
Proper installation is crucial for the longevity and effectiveness of any siding, especially in wet climates. Neglecting proper techniques can lead to premature failure due to water damage, mold growth, and structural issues. This section will detail best practices for installing siding in moisture-prone environments, focusing on moisture control and preventing water penetration.
Importance of Flashing and Sealing
Flashing and sealing are essential components of a successful siding installation in wet climates. Flashing, typically made of metal or plastic, acts as a barrier to divert water away from vulnerable areas like window and door frames, corners, and intersections. Properly installed flashing prevents water from seeping behind the siding and into the building’s structure. Sealing, using high-quality, weather-resistant caulks and sealants, closes gaps and cracks to prevent water infiltration. The combination of flashing and sealing creates a robust, watertight system, protecting your home from the damaging effects of moisture. Failure to properly flash and seal is a common cause of siding failure in wet climates.
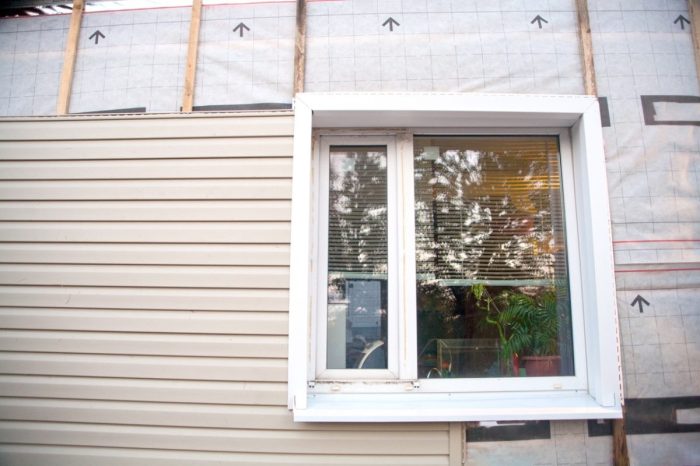
Vinyl Siding Installation in Wet Climates
This section provides a step-by-step guide for installing vinyl siding, focusing on moisture control in wet climates. Remember to always consult the manufacturer’s instructions for your specific siding product.
- Preparation: Begin by ensuring the wall sheathing is sound and free from rot or damage. Repair any imperfections and apply a water-resistant barrier, such as housewrap, over the sheathing. This crucial step prevents moisture from penetrating the wall. Overlapping the housewrap seams by at least 6 inches is recommended. Properly seal all penetrations, such as plumbing vents, with caulk.
- Flashing Installation: Install flashing around windows, doors, and other penetrations before applying the siding. Ensure the flashing overlaps the siding and is properly sealed to prevent water intrusion. Use self-tapping screws designed for exterior use. Consider using a flashing sealant in conjunction with the screws.
- Starter Strip: Begin by installing the starter strip along the bottom of the wall. This provides a level base for the first row of siding. Ensure it is perfectly level and straight.
- Siding Installation: Install the vinyl siding panels, starting from the bottom and working your way up. Slide each panel into place, ensuring it’s snugly connected to the previous panel. Use vinyl siding nails or screws, but never over-drive them. Over-driving can cause damage to the siding and lead to cracks.
- J-Channel and Finishing: Install J-channel around windows and doors, and at the corners and edges of the building. This creates a clean, finished look and protects those areas from water damage. Install the final pieces of siding, ensuring all seams are tightly sealed.
- Caulking and Sealing: Once the siding is installed, thoroughly caulk all seams, joints, and penetrations. Use a high-quality, exterior-grade caulk that is paintable and weather-resistant.
Tools and Materials for Wet Climate Siding Installation
Proper tools and materials are vital for a successful siding installation, particularly in wet climates. Using materials designed for moisture resistance is key to preventing problems.
- Measuring tape
- Level
- Chalk line
- Utility knife
- Hammer or nail gun
- Drill (with appropriate bits)
- Caulk gun
- Exterior-grade caulk (paintable and weather-resistant)
- Vinyl siding nails or screws
- Housewrap (water-resistant barrier)
- Flashing (metal or plastic)
- J-channel
- Starter strip
- Moisture-resistant sealant tape
Rain Screen Installation
A rain screen is a ventilated cavity installed behind the siding. This crucial step allows for air circulation, preventing moisture buildup behind the siding. Moisture that penetrates the outer layer of siding can then escape through the rain screen, preventing rot and mold.
To install a rain screen, furring strips (typically 1×2 or 1×3 lumber treated for exterior use) are attached to the wall sheathing, creating a gap between the sheathing and the siding. These strips are installed vertically and evenly spaced. The siding is then installed over the furring strips, creating the ventilated cavity. This simple addition significantly improves the longevity of the siding and protects the building’s structure from moisture damage. Proper spacing between furring strips is critical to allow sufficient ventilation. Manufacturers’ recommendations should be followed for optimal spacing.
Siding Maintenance and Repair in Wet Climates
Proper siding maintenance is crucial in wet climates to prevent costly repairs and extend the lifespan of your home’s exterior. Regular inspections and timely repairs are essential for protecting your investment and maintaining your home’s curb appeal. Neglecting maintenance can lead to significant water damage, mold growth, and structural problems.
Regular Maintenance Checklist for Various Siding Materials, Best siding for wet climates
A proactive maintenance schedule is key to preventing significant issues. The frequency of tasks will depend on the specific siding material and the severity of your climate’s wet conditions. Consider these guidelines as a starting point, adapting them to your unique situation.
- Vinyl Siding: Inspect annually for cracks, loose seams, or damage from impact. Clean twice a year with a mild detergent and water solution, rinsing thoroughly. Pay close attention to areas prone to water pooling.
- Fiber Cement Siding: Inspect annually for cracks, chips, or damage. Clean as needed with a pressure washer (low pressure setting) and a mild detergent. Repaint or restain every 5-7 years to maintain protection from moisture.
- Wood Siding: Inspect twice yearly for signs of rot, insect infestation, or damage. Clean annually with a suitable wood cleaner. Repaint or restain every 2-3 years, depending on the paint/stain type and exposure to the elements. Regularly check for and address any peeling paint.
- Metal Siding: Inspect annually for dents, scratches, or rust. Clean as needed with a mild detergent and water solution. Address rust spots promptly with a rust remover and protective paint.
Identifying and Repairing Common Siding Problems
Early detection and prompt repair are essential in mitigating damage. Ignoring small problems can quickly escalate into costly repairs.
- Cracks: Small cracks in vinyl or fiber cement siding can often be filled with caulk specifically designed for exterior use. Larger cracks may require replacing the damaged section. Wood siding cracks may require wood filler followed by painting or staining.
- Leaks: Leaks are often indicated by water stains, bubbling paint, or dampness inside the walls. Identifying the source of the leak is critical, often requiring inspection of flashing, caulking around windows and doors, and the siding itself. Professional help may be necessary to locate and repair hidden leaks.
- Mold Growth: Mold thrives in damp environments. Clean affected areas with a solution of bleach and water (follow manufacturer’s instructions carefully). For extensive mold growth, professional remediation may be required to prevent health risks and further damage.
Preventing Ice and Snow Damage
Ice and snow accumulation can put significant stress on siding, leading to damage.
- Regular Snow Removal: Remove heavy snow accumulations from the roof and siding to prevent ice dams and structural stress. Avoid using sharp tools that could scratch the siding.
- Ice Dam Prevention: Proper attic insulation and ventilation can help prevent ice dam formation, which can cause significant water damage behind the siding.
- Downspout and Gutter Maintenance: Ensure downspouts and gutters are clear of debris to efficiently channel melting snow and rainwater away from the foundation and siding.
Troubleshooting Siding Issues Flowchart
This flowchart provides a structured approach to diagnosing and resolving common siding problems.
- Identify the Problem: Inspect the siding for cracks, leaks, mold, or other damage.
- Assess Severity: Is the damage minor (easily repairable) or significant (requiring professional help)?
- Minor Damage: Clean the area, apply caulk or filler as needed, and repaint or restain if necessary.
- Significant Damage: Contact a qualified siding contractor for inspection and repair. Consider the need for replacement sections.
- Preventative Measures: Implement regular maintenance to prevent future problems. This includes cleaning, inspections, and addressing issues promptly.
Cost Considerations and Lifespan
Source: contractors-corp.com
Choosing the right siding for a wet climate involves careful consideration of both upfront costs and long-term expenses. While initial investment varies significantly between materials, the total cost of ownership over the siding’s lifespan needs to be factored in. This includes not only the purchase price and installation but also ongoing maintenance, repairs, and potential replacement costs. Understanding these factors will help you make an informed decision that aligns with your budget and long-term goals.
Initial Costs and Material Comparisons
The initial cost of siding varies dramatically depending on the material. Fiber cement siding, known for its durability in wet climates, typically ranges from $8 to $15 per square foot for materials, while vinyl siding can cost between $3 and $10 per square foot. Engineered wood siding (like composite wood) falls somewhere in between, usually costing $6 to $12 per square foot. These prices are estimates and can vary based on the specific product, region, and installer. Labor costs, which are generally a significant portion of the total cost, will add approximately 30-50% to the material cost. For example, a 1000 square foot home might see material costs of $8000-$15,000 for fiber cement, $3000-$10,000 for vinyl, and $6000-$12,000 for engineered wood, with significant labor cost added on top.
Lifespan Estimates for Different Siding Materials
The lifespan of siding in a wet climate is significantly impacted by material choice and proper installation and maintenance. Fiber cement siding, with its resistance to moisture and rot, boasts an impressive lifespan of 50 years or more. Vinyl siding, while less expensive initially, may only last 20-30 years in a consistently wet environment, especially if not properly maintained. Engineered wood siding offers a middle ground, typically lasting 30-40 years with appropriate care. These estimates are based on average conditions; extreme weather events or poor maintenance can drastically shorten the lifespan of any siding material. For example, a coastal home exposed to salt spray might experience accelerated deterioration of vinyl siding, requiring replacement sooner than anticipated.
Impact of Material Choice on Homeowner’s Insurance
While not a direct cost, the choice of siding can indirectly influence homeowner’s insurance premiums. Siding materials with higher fire resistance, such as fiber cement, may qualify for discounts on insurance premiums. Conversely, materials known for being more susceptible to damage from wind, water, or fire may result in higher premiums. It’s advisable to contact your insurance provider to discuss how different siding options might affect your rates. Insurance companies often consider factors like the material’s durability, resistance to weather damage, and fire rating when determining premiums.
Cost-Benefit Analysis of Three Siding Options
To illustrate a cost-benefit analysis, let’s compare fiber cement, vinyl, and engineered wood siding for a 1500 square foot home.
| Siding Type | Initial Cost (Estimate) | Lifespan (Years) | Annualized Cost | Maintenance Costs |
|---|---|---|---|---|
| Fiber Cement | $20,000 – $37,500 | 50+ | $400 – $750 | Low (occasional painting) |
| Vinyl | $7,500 – $15,000 | 20-30 | $250 – $750 | Moderate (cleaning, occasional repairs) |
| Engineered Wood | $12,000 – $22,500 | 30-40 | $300 – $750 | Moderate (periodic staining, sealing) |
Note: These are rough estimates and actual costs may vary significantly. The “Annualized Cost” is calculated by dividing the total cost (including material, labor, and estimated replacement cost) by the lifespan. This provides a clearer picture of the long-term cost implications. The table highlights that while fiber cement has the highest initial cost, its longer lifespan results in a lower annualized cost over the long run. Vinyl’s lower initial cost is offset by its shorter lifespan and higher potential maintenance needs. Engineered wood offers a balance between initial cost and lifespan. The best option depends on individual budget constraints and priorities.
End of Discussion
Selecting the best siding for a wet climate requires careful consideration of several factors, from material properties and installation techniques to long-term maintenance and cost implications. By understanding the strengths and weaknesses of various siding options, and by employing proper installation and maintenance practices, you can ensure your home’s exterior remains resilient and aesthetically pleasing for many years. Remember, investing in quality materials and professional installation will ultimately save you time, money, and potential headaches down the line. This guide serves as a starting point; consult with local professionals for personalized advice tailored to your specific climate and home design.
Answers to Common Questions
What is the average lifespan of fiber cement siding in a wet climate?
With proper installation and maintenance, fiber cement siding can last 50 years or more in wet climates.
Can I install siding myself in a wet climate?
While possible for some types (like vinyl), professional installation is highly recommended, especially in wet climates, to ensure proper moisture barriers and prevent future problems.
How often should I inspect my siding for damage?
At least twice a year, in spring and fall, inspect for cracks, loose pieces, or signs of water damage. More frequent checks are recommended during severe weather.
What are the signs of moisture damage in siding?
Look for discoloration, swelling, peeling paint, mold growth, or soft spots in the siding material.
How much does professional siding installation typically cost?
Costs vary greatly depending on the material, size of the house, and labor rates in your area. Get multiple quotes from reputable contractors.