Installing Hardie Plank Siding A Comprehensive Guide
Installing Hardie Plank siding transforms your home’s exterior, offering durability and aesthetic appeal. This guide delves into every aspect of the process, from selecting the right type of Hardie Plank for your climate to mastering the techniques for a professional-looking finish. We’ll cover tool selection, surface preparation, installation methods, handling challenges like complex architectural features, and essential maintenance tips to ensure your siding lasts for years to come. Get ready to learn the secrets to a successful Hardie Plank installation!
Whether you’re a seasoned DIYer or a novice tackling your first home improvement project, this comprehensive guide provides the step-by-step instructions, expert advice, and troubleshooting tips you need to achieve outstanding results. We’ll explore different fastening methods, address common installation mistakes, and emphasize safety precautions throughout the process. By the end, you’ll be confident in your ability to install beautiful, long-lasting Hardie Plank siding.
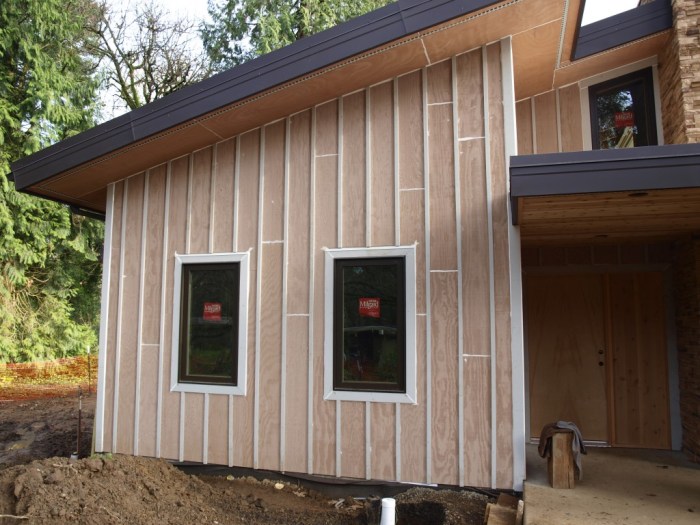
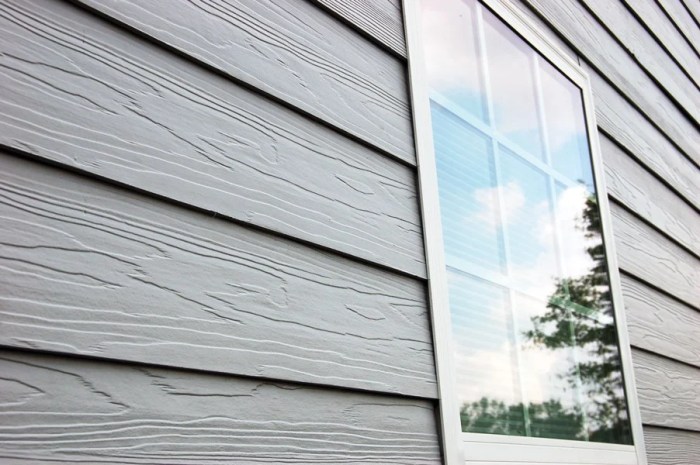
Understanding Hardie Plank Installation

Source: architecturesideas.com
Installing Hardie Plank siding is a rewarding project that can significantly enhance your home’s curb appeal and protect it from the elements. This guide will walk you through the process, from understanding the different types of Hardie Plank to the final installation steps. Proper preparation and attention to detail are key to a successful and long-lasting installation.
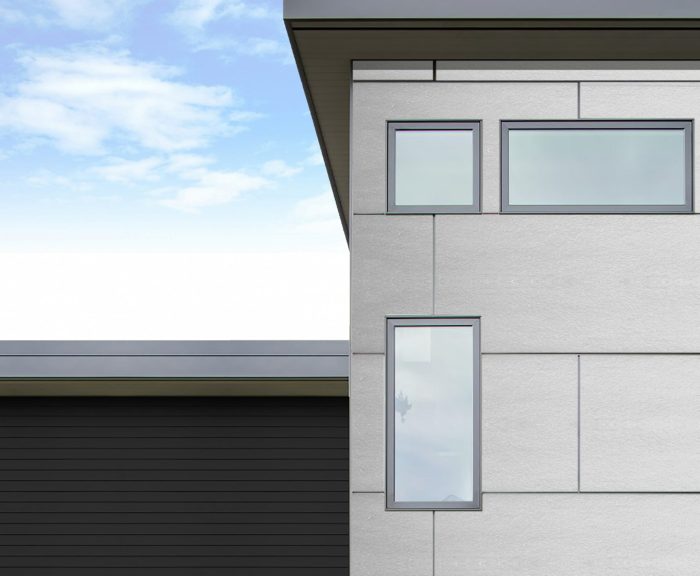
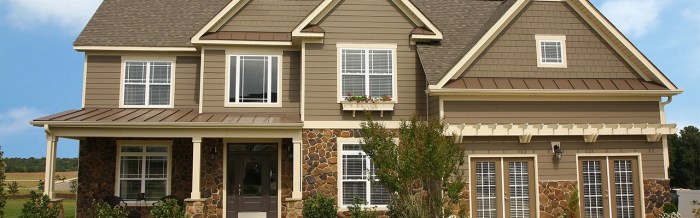
Hardie Plank Siding Types and Climate Suitability
James Hardie offers a range of fiber cement siding products, each designed with specific properties to withstand various weather conditions. Choosing the right type is crucial for optimal performance and longevity. For example, HardiePlank® Lap Siding is a popular choice for its versatility and is suitable for most climates. HardieShingle® siding, designed to mimic the look of wood shingles, is also a durable option, especially in areas prone to high winds or heavy snow. HardiePanel® vertical siding offers a modern aesthetic and is suitable for a variety of applications. The specific product choice should consider factors like local climate, wind exposure, and desired aesthetic. In regions with extreme temperature fluctuations or high humidity, certain finishes or treatments might be necessary to enhance durability.
Tools and Materials for Hardie Plank Installation
Proper tools and materials are essential for a smooth and efficient installation. Failing to have the necessary equipment can lead to delays and potentially compromise the quality of the work.
- Measuring tape and level: Accurate measurements are crucial for precise cuts and straight lines.
- Circular saw with a fine-tooth blade specifically designed for fiber cement: This ensures clean cuts without excessive chipping or fracturing.
- Safety glasses and dust mask: Fiber cement dust can be irritating, so proper protection is paramount.
- Hammer and nail gun (optional but recommended for efficiency): Nails should be specifically designed for fiber cement.
- Caulk and sealant: For sealing gaps and joints, preventing water penetration.
- J-channel and corner trim: These provide a clean finish at the edges and corners of the siding.
- Hardie Plank siding: Purchase enough to cover the entire area, accounting for waste.
- Starter strip and finishing trim: These ensure a neat and professional-looking installation.
Surface Preparation Before Installation
Thorough surface preparation is critical for a successful and long-lasting Hardie Plank installation. Neglecting this step can lead to problems later on, including siding failure and potential water damage.
This involves a careful inspection of the existing sheathing to ensure it is sound and free from damage. Any damaged or rotten sections must be replaced before proceeding. The sheathing should also be properly treated with a water-resistant barrier to protect against moisture penetration. Furthermore, the sheathing needs to be adequately braced and secured to prevent movement that could compromise the integrity of the siding. Any gaps or imperfections should be filled and smoothed to create a level and uniform surface for the siding. A properly prepared surface will provide a stable and secure foundation for the Hardie Plank, ensuring a long-lasting and aesthetically pleasing finish.
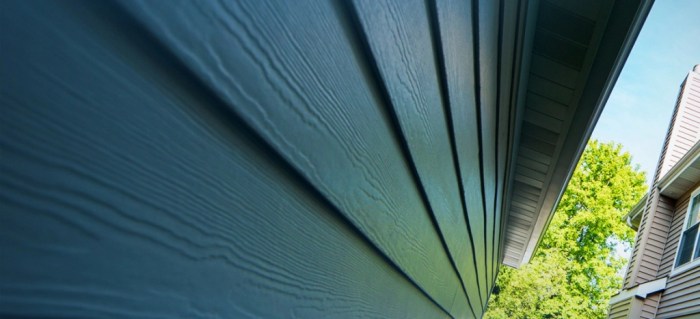
Installation Techniques
Installing Hardie Plank siding requires careful attention to detail to ensure a long-lasting, beautiful finish. Proper fastening, cutting, and gap management are crucial for preventing issues like cracking, warping, and water damage. This section will detail best practices for each of these critical steps.
Fastening Hardie Plank: Nailing vs. Screwing
Both nails and screws can be used to fasten Hardie Plank, each with its own advantages and disadvantages. Nails offer a faster installation process, particularly for large projects. However, screws provide a more secure hold, especially in areas prone to high winds or movement. Screws also allow for easier adjustment if necessary. For most applications, galvanized nails are sufficient, but screws are recommended in areas of extreme exposure or where a higher level of security is required. The choice between nails and screws often depends on personal preference, building codes, and the specific project requirements. Always use fasteners appropriate for the thickness of the Hardie Plank being installed.
Cutting and Fitting Hardie Plank Around Openings
Precise cutting is essential for a professional-looking finish around windows and doors. Use a circular saw with a fine-tooth blade designed for cutting fiber cement. Score the plank lightly first to prevent chipping, then make a complete cut. For intricate cuts, a jigsaw might be more suitable. Remember to always wear appropriate safety gear, including eye protection and a dust mask. Pre-drilling pilot holes is recommended, especially when using screws, to prevent cracking. Accurate measurements and careful planning are crucial for a clean, seamless fit around openings. Use shims to ensure proper alignment and spacing.
Managing Expansion and Contraction Gaps
Hardie Plank, like all building materials, expands and contracts with temperature changes. Failure to account for this movement can lead to buckling and cracking. Therefore, maintaining consistent expansion gaps is critical. These gaps should be consistent around the perimeter of each plank and around any openings. Typically, a gap of 1/8 inch to 1/4 inch is recommended, depending on the specific climate and Hardie Plank product specifications. Properly sized spacers should be used to maintain these gaps consistently. These gaps should not be caulked or sealed.
Recommended Fastener Spacing
The appropriate fastener spacing depends on both the thickness of the Hardie Plank and the specific application. The following table provides guidelines:
| Hardie Plank Thickness | Horizontal Application (inches) | Vertical Application (inches) | Notes |
|---|---|---|---|
| 1/2 inch | 6-8 | 12-16 | May vary based on wind load |
| 5/16 inch | 6 | 12 | Use with appropriate backing |
| 7/16 inch | 7 | 14 | Consult manufacturer’s specifications |
| 1 inch | 8 | 16 | Suitable for high-wind areas |
Dealing with Specific Challenges: Installing Hardie Plank
Installing Hardie Plank around complex architectural features and in challenging weather conditions requires careful planning and execution. This section addresses techniques for navigating these complexities and avoiding common installation pitfalls to ensure a long-lasting, beautiful, and weather-resistant exterior.
Installing Hardie Plank Around Complex Architectural Features
Careful measurement and precise cutting are crucial when working around dormers, bay windows, and other complex architectural details. Pre-fabrication of pieces, where possible, can significantly improve accuracy and reduce on-site cutting. For example, when installing around a dormer, create templates from cardboard or thin plywood to accurately trace the shape onto the Hardie Plank before cutting. This minimizes waste and ensures a precise fit. Use a high-quality circular saw with a fine-tooth blade designed for cutting fiber cement for clean, accurate cuts. Remember to always wear appropriate safety gear, including eye protection and a dust mask. For extremely intricate cuts, consider using a jigsaw for greater maneuverability. Proper flashing and sealing around these features is paramount to prevent water intrusion.
Moisture Management and Prevention of Water Damage
Moisture is the enemy of Hardie Plank. Proper planning and execution are essential to mitigate the risk of water damage. Ensure that all underlying sheathing is properly installed and sealed to prevent moisture penetration from the exterior. Use appropriate flashing materials at all seams, corners, and around windows and doors. These flashing materials should overlap properly and extend beyond the Hardie Plank to direct water away from the building. During installation, avoid working in wet conditions whenever possible. If rain is anticipated, take precautions to protect the installed Hardie Plank with tarps or other coverings. Allow sufficient drying time between coats of primer and paint to prevent trapping moisture within the siding. Consider the use of breathable house wraps under the siding to further reduce the risk of moisture buildup.
Common Installation Mistakes and Their Avoidance
Several common mistakes can compromise the integrity and longevity of a Hardie Plank installation. One frequent error is improper nailing, resulting in gaps or loose planks. Use galvanized nails of the correct length and spacing, ensuring that nails are driven straight and flush with the surface of the plank to avoid splitting. Another common mistake is neglecting to properly seal all joints and seams. Water can easily penetrate through even small gaps, leading to rot and damage. Always use a high-quality sealant designed for exterior use, ensuring complete coverage of all joints and around penetrations. Finally, failing to properly prime and paint the Hardie Plank can lead to premature fading, cracking, and moisture damage. Apply a quality primer specifically formulated for fiber cement siding, followed by two coats of exterior-grade paint.
Troubleshooting Common Installation Problems
A flowchart can help systematically address common problems during Hardie Plank installation.
[Imagine a flowchart here. The flowchart would begin with a central box labeled “Problem Encountered?”. Branches would lead to boxes representing common problems such as: “Gaps between planks,” “Loose planks,” “Cracked planks,” “Water damage,” etc. Each problem box would then branch to boxes suggesting solutions, such as: “Check nailing,” “Reseal joints,” “Replace damaged plank,” etc. The flowchart would conclude with a box labeled “Problem Resolved?” leading back to the central box if the problem persists or to a “Project Complete” box if the issue is resolved.]
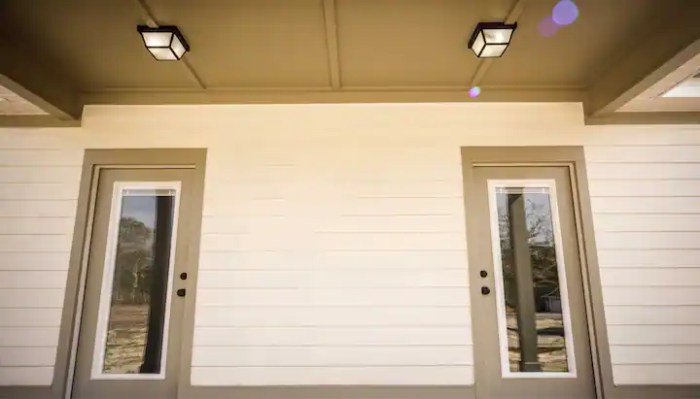
Finishing Touches and Maintenance

Source: prosuperiorconstruction.com
Properly finishing your Hardie Plank installation and implementing a consistent maintenance schedule are crucial for ensuring its longevity and maintaining its attractive appearance. These final steps will protect your investment and guarantee years of trouble-free enjoyment. Neglecting these aspects can lead to premature weathering, damage, and costly repairs.
Applying Caulk and Sealant
Caulking and sealing are vital for creating a weathertight barrier, preventing water intrusion, and protecting your home from the elements. All joints, gaps, and seams between the Hardie Plank siding, trim, and other building components should be carefully filled with a high-quality, paintable exterior-grade caulk. Choose a caulk specifically designed for exterior use and that is compatible with fiber cement siding. Apply the caulk in a smooth, continuous bead, ensuring complete coverage of the gaps. Tool the caulk to create a neat, professional finish, removing any excess material. Pay particular attention to areas around windows, doors, and corners, as these are prone to water penetration. Allow the caulk to fully cure before painting. Regular inspection of caulking is recommended, and re-caulking may be necessary every few years, depending on weather conditions and exposure.
Painting or Staining Hardie Plank Siding
Painting or staining your Hardie Plank siding offers superior protection against moisture damage, UV degradation, and other environmental factors. Before applying any paint or stain, ensure the siding is clean, dry, and free from dust or debris. Prime the siding with a high-quality primer specifically formulated for fiber cement materials. This primer will enhance paint adhesion and provide a uniform base for the topcoat. Apply two coats of high-quality exterior paint or stain, allowing each coat to dry completely before applying the next. Choose paints or stains with good UV protection and mildew resistance to maximize the siding’s lifespan. Follow the manufacturer’s instructions carefully for best results. Consider the color and style of your home when selecting a paint or stain color. Regularly inspect the paint or stain for any signs of peeling, chipping, or fading and repaint or restain as needed.
Maintaining Hardie Plank Siding
Regular maintenance will significantly extend the life of your Hardie Plank siding. A simple cleaning schedule will help to remove dirt, grime, and mildew, preserving the siding’s appearance and preventing damage. Avoid using harsh chemicals or abrasive cleaners, as these can damage the surface of the siding. Regularly inspect the siding for any signs of damage, such as cracks, loose pieces, or insect infestation. Address any issues promptly to prevent further damage. Promptly repair any damaged areas to prevent water penetration. Regularly inspect caulking and re-caulk as needed.
Recommended Cleaning Products and Methods
A simple cleaning routine can significantly improve the longevity and appearance of your Hardie Plank siding. Begin by rinsing the siding with a garden hose to remove loose dirt and debris. For a more thorough cleaning, mix a mild detergent solution with water (follow product instructions). Apply the solution to the siding using a soft-bristled brush or sponge, scrubbing gently to remove any ingrained dirt or mildew. Rinse the siding thoroughly with clean water to remove all traces of the cleaning solution. For stubborn mildew stains, a solution of bleach and water (following manufacturer’s instructions carefully) can be used, but ensure thorough rinsing afterward. Avoid using high-pressure washers, as these can damage the siding.
- Recommended Cleaning Products: Mild detergent, bleach (use cautiously and follow instructions), water.
- Cleaning Methods: Soft-bristled brush, sponge, garden hose.
Safety Precautions
Source: thesidingking.com
Installing Hardie Plank siding is a rewarding project, but safety should always be your top priority. Taking the necessary precautions will protect you from injury and ensure a successful installation. Remember, a safe work environment is a productive work environment.
Proper personal protective equipment (PPE) is essential for minimizing risks associated with handling Hardie Plank and working at heights. Ignoring safety measures can lead to serious injuries, so it’s crucial to prioritize your well-being throughout the entire installation process.
Personal Protective Equipment (PPE)
Appropriate PPE is crucial for protecting yourself from potential hazards during Hardie Plank installation. This includes safety glasses or goggles to protect your eyes from flying debris, work gloves to prevent cuts and splinters, and a dust mask or respirator to prevent inhalation of dust particles generated during cutting and sanding. Hearing protection is also recommended, especially when using power tools. Long sleeves and pants provide additional protection from cuts and abrasions. A hard hat is necessary when working at heights.
Working at Heights
Working at heights presents significant risks. Always use appropriate fall protection equipment, such as a safety harness and lanyard, when working above ground level. Ensure that the scaffolding or ladder you are using is stable and properly secured. Never overreach or work beyond the safe reach of your support structure. Always have a spotter when working at heights, especially when handling long or heavy materials. Inspect your equipment regularly for damage before each use. Regular breaks are also recommended to prevent fatigue, a significant factor in height-related accidents.
Safe Handling and Disposal of Construction Waste
Proper handling and disposal of construction waste is vital for maintaining a clean and safe worksite and for environmental protection. Always wear appropriate PPE when handling waste materials. Use designated containers for different types of waste, such as wood scraps, metal scraps, and packaging materials. Dispose of waste materials according to local regulations and environmental guidelines. Sharp objects should be disposed of in puncture-resistant containers. Never leave debris scattered around the worksite; promptly clean up spills and debris to prevent accidents.
Safe Lifting Techniques for Hardie Plank
The following describes a visual representation of proper lifting techniques.
Image Description: The image depicts two individuals correctly lifting a sheet of Hardie Plank. Both individuals are standing with their feet shoulder-width apart, knees bent, and backs straight. They are maintaining a firm grip on the sheet, close to their bodies. One person is positioned slightly ahead of the other, acting as the lead lifter, to guide the sheet. Their posture is upright, avoiding any twisting or bending at the waist. They are lifting smoothly and in a coordinated manner. The image clearly contrasts this with a depiction of incorrect lifting (bent back, twisting), highlighting the potential for back injury. The safe lifting technique emphasizes teamwork and proper body mechanics to minimize strain and prevent injuries.
Closing Summary
Source: siding-stcharles.com
Successfully installing Hardie Plank siding requires careful planning, attention to detail, and adherence to best practices. From understanding the various types of Hardie Plank and selecting the appropriate fasteners to mastering the techniques for cutting, fitting, and caulking, this guide has equipped you with the knowledge to complete the project successfully. Remember to prioritize safety throughout the process and utilize the provided troubleshooting guide to overcome any challenges. With dedication and the information provided, you can achieve a stunning and durable exterior for your home that will enhance its curb appeal for years to come. Enjoy the transformation!
Essential Questionnaire
What is the best time of year to install Hardie Plank?
Ideally, install Hardie Plank during moderate temperatures (above freezing and below 90°F) and low humidity to allow for proper curing and prevent issues with expansion and contraction.
Can I install Hardie Plank over existing siding?
It depends on the condition of the existing siding. It’s generally recommended to remove damaged or deteriorated siding before installing Hardie Plank for best results and to ensure proper ventilation.
How long does Hardie Plank siding last?
With proper installation and maintenance, Hardie Plank siding can last 30-50 years or more.
What type of paint is best for Hardie Plank?
Use a high-quality acrylic latex paint specifically designed for exterior use and suitable for fiber cement. Always follow the manufacturer’s recommendations for paint application.
How do I clean Hardie Plank siding?
Regularly clean your Hardie Plank siding with a soft brush, mild detergent, and water. Avoid high-pressure washing, which can damage the surface.